Blog
How To Replace The Flint In A Sleeping Mermaid Lighter
Jan
A Step-by-Step Guide to Replacing the Flint in Your Sleeping Mermaid Lighter
Introduction
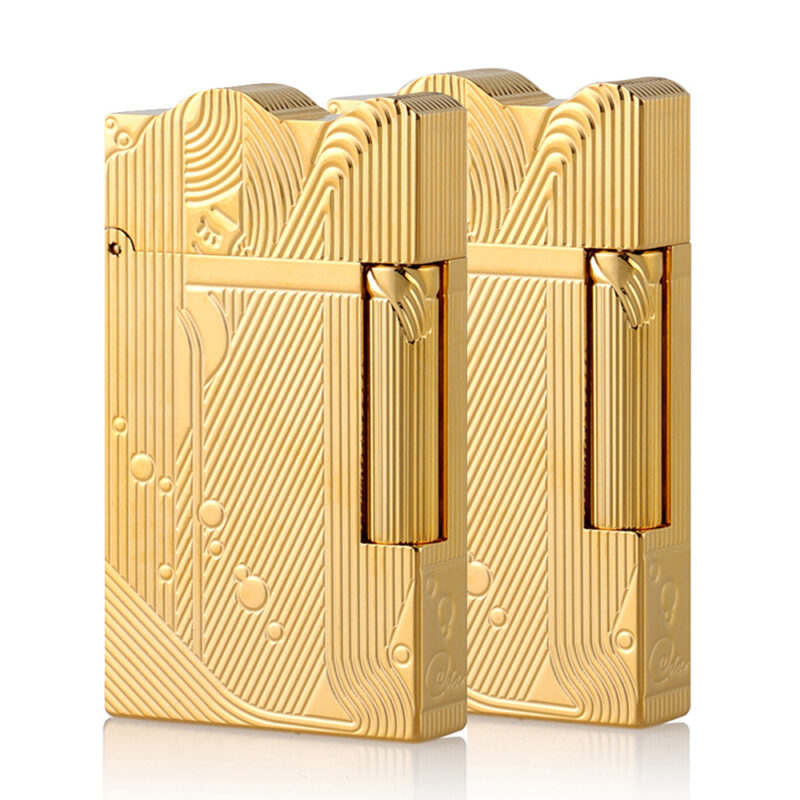
Maintaining your Sleeping Mermaid lighter is essential for ensuring it functions properly. One of the key components that may need replacement over time is the flint. This guide will walk you through the process of replacing the flint, allowing you to keep your lighter in optimal condition.
Tools and Materials Needed
Before starting, gather these items:
- A standard size replacement flint
- A small screwdriver
Step 1: Accessing the Flint Compartment
Begin by locating the small spring-loaded cylinder at the bottom of your lighter. This component houses the flint and can be easily unscrewed with a screwdriver. Carefully turn it counterclockwise until it loosens enough to remove.
Step 2: Removing Old Flint Residue
Once you have unscrewed and removed the cylinder, take out any remnants of old flint that may still be inside. Ensure that this area is clean before proceeding to insert a new one.
Step 3: Inserting New Flint
Take your standard size replacement flint and insert it into the compartment where you just removed the old piece. Make sure itS positioned correctly for optimal performance.
step 4: Securing Everything Back in Place
After placing in new flint,gently screw back on the spring-loaded cylinder until it sits flush against the base plate of your lighter. Be careful not to overtighten as this could damage components or affect functionality.
Conclusion
By following these straightforward steps, you can easily replace worn-out flints in your Sleeping Mermaid lighter, ensuring its reliability for future use. Regular maintenance like this not only extends its lifespan but also enhances its performance when needed most.