Blog
How to Clean and Maintain Your Brass Lighter for a Lifetime
Dec
Ultimate Guide to Preserving Your Brass Lighter for Generations
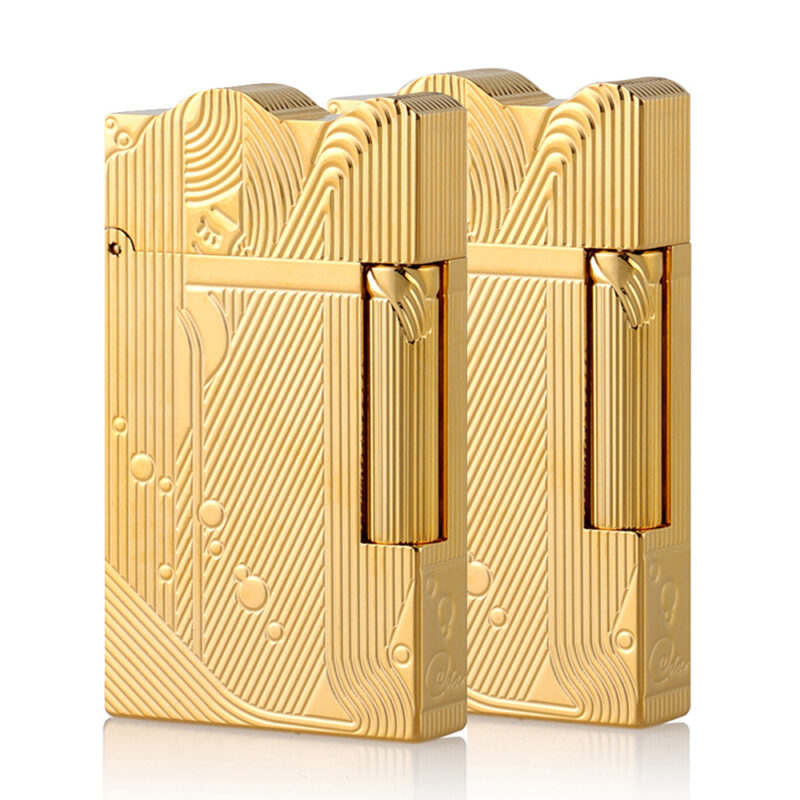
Brass lighters are not only functional but also serve as elegant accessories. To ensure they remain in pristine condition, it’s essential to clean and maintain them properly. This guide will walk you through effective methods for polishing brass, eliminating carbon buildup, and storing your lighter correctly during the winter months.
Step-by-Step Process for Polishing Brass Safely
Polishing brass can enhance its shine and prolong its lifespan. Follow these steps to achieve a brilliant finish without causing damage:
- Gather Your Supplies: You will need a soft cloth, mild soap, water, lemon juice or vinegar, baking soda (optional), and a non-abrasive polish specifically designed for brass.
- Initial Cleaning: Start by mixing warm water with a few drops of mild soap in a bowl. Dip the soft cloth into this solution and gently wipe down the exterior of your lighter to remove dirt and grime.
- Create a Natural Polish: for deeper tarnish removal, combine equal parts lemon juice or vinegar with baking soda to form a paste. Apply this mixture using another clean cloth; rub it gently over the brass surface in circular motions.
- Rinse Thoroughly: after polishing with the paste, rinse your lighter under lukewarm water to eliminate any residue from the cleaning agents used.
- Dry Fully: Use a dry microfiber cloth to thoroughly dry your lighter before putting it away; moisture can lead to further tarnishing if left unattended.
- Final Touch-Up: If desired,apply an appropriate brass polish following manufacturer instructions for an extra layer of protection against tarnish.
Removing Carbon Buildup from Wick and chimney
Over time, carbon deposits can accumulate on both the wick and chimney of your lighter due to regular use:
- Disassemble Carefully: Begin by removing any components that can be detached without force—this typically includes unscrewing or pulling out parts as per your model’s design guidelines.
- Cleanse Wick Area: Use tweezers or small tools designed for precision cleaning to remove excess carbon buildup around the wick area carefully; avoid damaging delicate components during this process.
- Chimney Maintenance: For cleaning inside the chimney tube where soot may gather:
– Utilize compressed air or cotton swabs dipped in isopropyl alcohol.
– Gently insert them into the chimney while rotating slightly until all residues are cleared away.
- Reassemble After Drying: Once everything is cleaned thoroughly and dried completely (to prevent moisture retention), reassemble your lighter carefully ensuring all parts fit snugly back into place.
Proper Storage Techniques During Winter Months
Winter conditions can accelerate tarnishing due to humidity changes; therefore proper storage is crucial:
- Choose an Appropriate Container: Store your brass lighter in an airtight case lined with anti-tarnish fabric or silica gel packets that absorb moisture effectively.
- Avoid Extreme Temperatures: Keep lighters away from areas prone to temperature fluctuations such as near heating vents or windows where condensation might occur.
- Regular Checks During Storage Periods: Even when not in use regularly inspect stored lighters every few weeks—this allows you early detection of any potential issues like tarnishing so you can address them promptly before they worsen.
By following these comprehensive steps on polishing techniques, carbon removal strategies along with proper storage practices tailored specifically towards winter conditions—you’ll ensure that your cherished brass lighter remains functional while retaining its aesthetic appeal throughout many years ahead!